How to install a Mastodon instance on Ubuntu 16.04 LTS

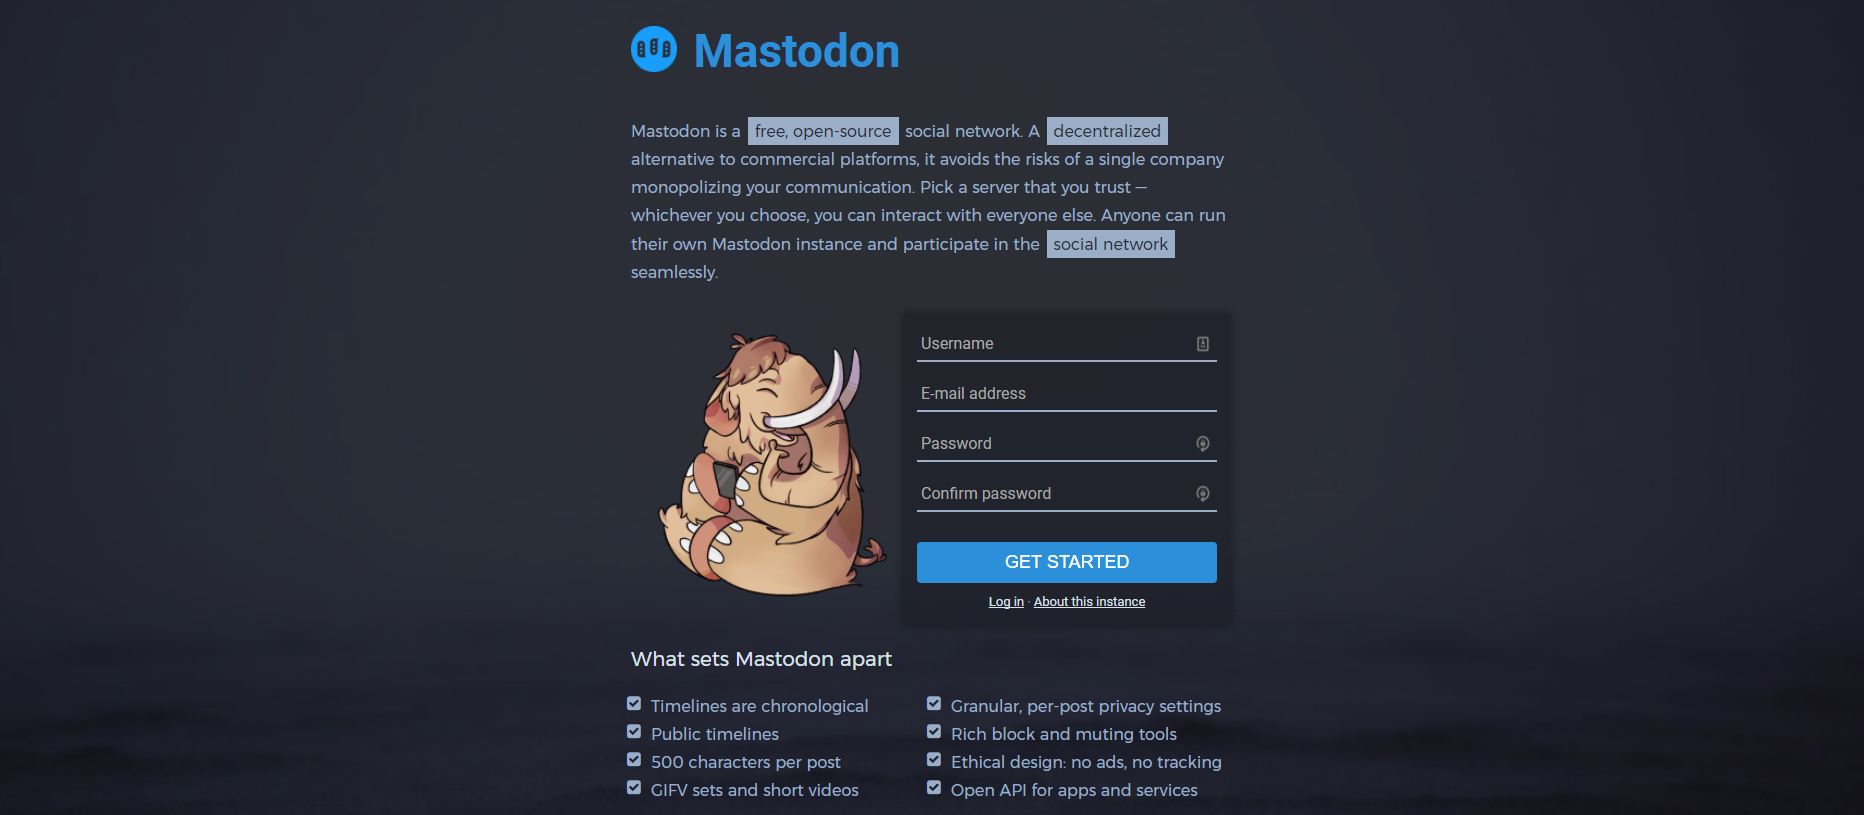
Have you already the new open-source social network Mastodon ? I have launched few days ago my own instance to contribute to this project.
If you want to launch your own instance, here a quick tutorial to install mastodon on a Ubuntu 16.04 LTS server with Nginx as a reverse-proxy and Cloudflare CDN/SSL.
To follow the steps of this tutorial, a user with sudo rights is enough, you don't need to login as root.
Install the dependencies
sudo apt-get updatecurl -sL https://deb.nodesource.com/setup_6.x | sudo bash -
sudo apt-get install imagemagick ffmpeg libpq-dev libxml2-dev libxslt1-dev nodejs
sudo npm install -g yarn
Install redis-server
sudo apt-get install redis-server redis-tools
Install Postgresql
sudo apt-get install postgresql postgresql-contribLogin as postgre user to create mastodon
sudo su - postgres
psql
CREATE USER mastodon CREATEDB;
\q
You will also have to enable ident authentication so users can login without password
sudo sed -i '/^local.*postgres.*peer$/a host all     all     127.0.0.1/32    ident' \
/etc/postgresql/9.?/main/pg_hba.conf
And to install the ident daemon :
sudo apt-get install pidentd
sudo systemctl enable pidentd
sudo systemctl start pidentd
sudo systemctl restart postgresql
Install Ruby
Install the dependenciessudo apt-get install autoconf bison build-essential libssl-dev libyaml-dev libreadline6-dev zlib1g-dev libncurses5-dev libffi-dev libgdbm3 libgdbm-devadduser --disabled-password --disabled-login mastodonsu - mastodongit clone https://github.com/rbenv/rbenv.git ~/.rbenv
echo 'export PATH="$HOME/.rbenv/bin:$PATH"' >> ~/.bashrc
echo 'eval "$(rbenv init -)"' >> ~/.bashrc
source ~/.bashrcexit
su - mastodon
git clone https://github.com/rbenv/ruby-build.git ~/.rbenv/plugins/ruby-buildrbenv install 2.4.1
rbenv global 2.4.1ruby -vMastodon installation
We have installed all the dependencies required to setup Mastodon, so we can now clone the github repository. We use git checkout to select the last release instead of the master branch.cd ~
git clone https://github.com/tootsuite/mastodon.git live
cd live
git checkout $(git tag | tail -n 1)echo "gem: --no-document" > ~/.gemrc
gem install bundler --no-ribundle install --deployment --without development test
yarn installcp .env.production.sample .env.production
nano .env.production# Service dependencies
REDIS_HOST=localhost
REDIS_PORT=6379
DB_HOST=/var/run/postgresql
DB_USER=mastodon
DB_NAME=mastodon_production
DB_PASS=
DB_PORT=5432
Federation
LOCAL_DOMAIN=yourdomain.com
LOCAL_HTTPS=true
Ainsi que la partie SMTP qui permettra aux utilisateurs de confirmer leur inscription :
# E-mail configuration
SMTP_SERVER=mail.yourdomain.com
SMTP_PORT=587
SMTP_LOGIN=noreply@yourdomain.com
SMTP_PASSWORD=YourPassword
SMTP_FROM_ADDRESS=noreply@yourdomain.com
For the application secret part, you can use the command bundle exec rake secret to generate the 3 secret keys, then you have just to copy them into the configuration file.
To setup the database and the assets :
RAILS_ENV=production bundle exec rails db:setup
RAILS_ENV=production bundle exec rails assets:precompile
Adding systemd services
Web servicenano /etc/systemd/system/mastodon-web.service[Unit]
Description=mastodon-web
After=network.target
[Service]
Type=simple
User=mastodon
WorkingDirectory=/home/mastodon/live
Environment="RAILS_ENV=production"
Environment="PORT=3000"
ExecStart=/home/mastodon/.rbenv/shims/bundle exec puma -C config/puma.rb
TimeoutSec=15
Restart=always
[Install]
WantedBy=multi-user.target
Background service
nano /etc/systemd/system/mastodon-sidekiq.service[Unit]
Description=mastodon-sidekiq
After=network.target
[Service]
Type=simple
User=mastodon
WorkingDirectory=/home/mastodon/live
Environment="RAILS_ENV=production"
Environment="DB_POOL=5"
ExecStart=/home/mastodon/.rbenv/shims/bundle exec sidekiq -c 5 -q default -q mailers -q pull -q push
TimeoutSec=15
Restart=always
[Install]
WantedBy=multi-user.targetAPI service
nano /etc/systemd/system/mastodon-streaming.service[Unit]
Description=mastodon-streaming
After=network.target
[Service]
Type=simple
User=mastodon
WorkingDirectory=/home/mastodon/live
Environment="NODE_ENV=production"
Environment="PORT=4000"
ExecStart=/usr/bin/npm run start
TimeoutSec=15
Restart=always
[Install]
WantedBy=multi-user.targetThen we can enable our systemd services :
systemctl enable /etc/systemd/system/mastodon-*.serviceAnd we can start our mastodon instance :
sudo systemctl start mastodon-web.service mastodon-sidekiq.service mastodon-streaming.serviceAdd the required crons for mastodon :
crontab -u mastodon -eRAILS_ENV=production
@daily cd /home/mastodon/live && RAILS_ENV=production /home/mastodon/.rbenv/shims/bundle exec rails mastodon:media:remove_remoteNginx reverse-proxy setup :
So we have setup mastodon, but to access to our instance directly under https and with our domain, we need to setup a reverse-proxy using Nginx.At first, install Nginx :
wget -O - https://nginx.org/keys/nginx_signing.key | sudo apt-key add -
sudo echo "deb http://nginx.org/packages/ubuntu/ $(lsb_release -sc) nginx" > /etc/apt/sources.list.d/nginx.list
sudo apt update
sudo apt install nginx
We have now to create our nginx configuration file for ou domain, we will use the configuration based on the Angristan's model :
nano /etc/nginx/sites-enabled/yourdomain.commap $http_upgrade $connection_upgrade {
default upgrade;
'' close;
}
server {
listen 80;
listen [::]:80;
server_name www.yourdomain.com yourdomain.com;
return 301 https://votredomaine.com$request_uri;
access_log /dev/null;
error_log /dev/null;
}
server {
listen 443 ssl http2;
listen [::]:443 ssl http2;
server_name www.yourdomain.com yourdomain.com;
access_log /var/log/nginx/yourdomain.com-access.log;
error_log /var/log/nginx/yourdomain.com-error.log;
ssl_certificate /etc/letsencrypt/live/fullchain.pem;
ssl_certificate_key /etc/letsencrypt/live/privkey.pem;
ssl_protocols TLSv1.2;
ssl_ciphers EECDH+AESGCM:EECDH+AES;
ssl_prefer_server_ciphers on;
add_header Strict-Transport-Security "max-age=15552000; preload";
keepalive_timeout 70;
sendfile on;
client_max_body_size 0;
gzip off;
root /home/mastodon/live/public;
location / {
try_files $uri @proxy;
}
location @proxy {
proxy_set_header Host $host;
proxy_set_header X-Real-IP $remote_addr;
proxy_set_header X-Forwarded-For $proxy_add_x_forwarded_for;
proxy_set_header X-Forwarded-Proto https;
proxy_pass_header Server;
proxy_pass http://127.0.0.1:3000;
proxy_buffering off;
proxy_redirect off;
proxy_http_version 1.1;
proxy_set_header Upgrade $http_upgrade;
proxy_set_header Connection $connection_upgrade;
tcp_nodelay on;
}
location /api/v1/streaming {
proxy_set_header Host $host;
proxy_set_header X-Real-IP $remote_addr;
proxy_set_header X-Forwarded-For $proxy_add_x_forwarded_for;
proxy_set_header X-Forwarded-Proto https;
proxy_pass http://127.0.0.1:4000;
proxy_buffering off;
proxy_redirect off;
proxy_http_version 1.1;
proxy_set_header Upgrade $http_upgrade;
proxy_set_header Connection $connection_upgrade;
tcp_nodelay on;
}
error_page 500 501 502 503 504 /500.html;
}
You can start nginx with the command :
service nginx startThen we will use Let's Encrypt to generate a SSL certificate.
cd /opt
git clone https://github.com/letsencrypt/letsencrypt
cd letsencrypt
./letsencrypt-auto certonly --webroot -w /home/mastodon/live -d www.yourdomain.com -d yourdomain.com --email vous@yourdomain.com --text --rsa-key-size 4096
Updating Mastodon
Mastodon is updated very often, so if you want to keep your instance up-to-date you will have to follow the following steps :su - mastodon
cd live
gem install bundler --no-ri
git fetch
git checkout v1.X.X
bundle install --deployment --without development test
NODE_ENV=production npm upgrade --global yarn
yarn install
RAILS_ENV=production bundle exec rails assets:clean
RAILS_ENV=production bundle exec rails assets:precompile
RAILS_ENV=production bundle exec rails db:migrate
exitsudo systemctl restart mastodon-web.service mastodon-sidekiq.service mastodon-streaming.servicerbenv install 2.4.1
gem install bundler --no-riCreate your administrator account
You instance is now running properly but you have to register to create your account and then you will be able to set this account as administrator with the following command :RAILS_ENV=production bundle exec rails mastodon:make_admin USERNAME=votre-utilisateurMy instance mastodon.top
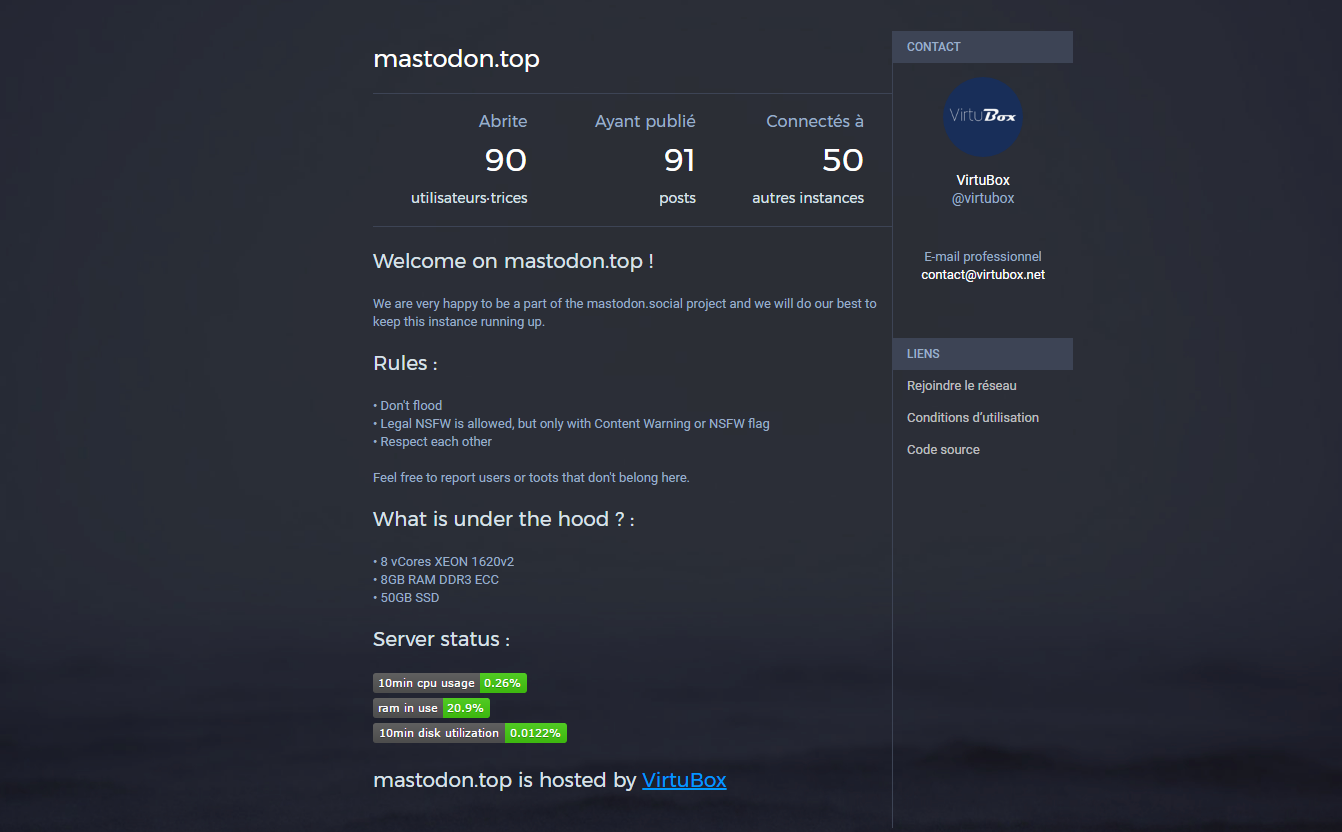 With VirtuBox, I have launched a Mastodon instance and if you are not registered on Mastodon yet, you can register at mastodon.top. We are already more than 200 users on my instance and enough resources for more users. You can find more informations about the instance on the page about and the real-time monitoring of the server at instance.mastodon.top.Don't hesitate to give your opinion on Mastodon, to tell me if there are errors in the tutorial or to ask for help if you want to deploy your own instance.
You can also follow me on Mastodon : thomas_virtubox@mastodon.top