How to setup Magento 2.1.7 with EasyEngine - Nginx & Redis-cache

If you have already setup redis-server for object-caching with WordPress, you are maybe looking for something more powerful to setup ?
Magento 2 will be the perfect benchmark for your server. It's an open source e-commerce software and content management system for e-commerce websites based on the PHP Zend Framework. Magento is compatible with the most advanced caching systems including Varnish, Memcached or Redis.
So in this tutorial, we will see how to setup Magento 2.1.7 with Nginx, php7, Mariadb and Redis-server using EasyEngine.
At first, you need a VPS with ubuntu/debian and at least 2GB RAM. In production, 4GB will be the minimum, when 8GB will be better.
Server setup & configuration
## install easyengine
wget -qO ee rt.cx/ee && bash ee

## install Nginx - php5.6 + php7 - Mariadb - phpmyadmin - redis - memcached
ee stack install --web --admin --php7 --redis

## create your domain vhost (--letsencrypt optional)
ee site create yourdomain.com --mysql --php7

## install php-intl for magento and unzip
apt-get update && apt-get install php7.0-intl unzip
Change the php configuration according to magento documentation :
## change php.ini settings for magento
nano /etc/php/7.0/fpm/php.ini

max_execution_time = 1800
max_input_time = 1800
memory_limit = 4096M
post_max_size = 512M

## add the following lines after the extension declaration : [opcache]
opcache.enable=1
opcache.enable_cli=0
opcache.memory_consumption=128
opcache.interned_strings_buffer=4
opcache.max_accelerated_files=20000
opcache.max_wasted_percentage=5
opcache.validate_timestamps=1
opcache.revalidate_freq=2
opcache.optimization_level=0xffffffff

## restart php7.0-fpm
service php7.0-fpm restart
Magento installation
We have already done almost all the server configuration. Now we have to download magento and to launch the installer.
Download it from the Magento website :
https://magento.com/tech-resources/download
To upload it via sftp, set a password for the user www-data with the command
passwd www-data
Then allow shell access for www-data with the command :
usermod -s /bin/bash www-data
After that you will be able to use the sftp client of your choice and to upload the magento archive in your website folder with the correct permissions.
If you are looking for a sftp client for Windows, I recommend you Cyberduck.
Then go into your website folder and unzip the magento archive.
cd /var/www/yourdomain.com/htdocs
unzip Magento-CE-2.1.6_sample_data-2017-03-29-04-34-51.zip

## set www-data as the owner of the directory and all magento files
cd ..
chown -R www-data:www-data htdocs
But to be able to launch the installer with nginx, we have to edit the site configuration, for that we will use the nginx.conf.sample file included with magento.
I have edit this file with the correct settings for EasyEngine and you can download it here :
magento.conf
You have just to upload this file in /var/www/yourdomain.com/conf/nginx, because with easyengine, all configurations files in this folder are automatically include in your website configuration.
Then edit your website configuration in /etc/nginx/sites-available/yourdomain.com to look like :
server {

    server_name yourdomain.com www.yourdomain.com;
    set $MAGE_ROOT /var/www/yourdomain.com/htdocs;

    access_log /var/log/nginx/yourdomain.com.access.log rt_cache;
    error_log /var/log/nginx/yourdomain.com.error.log;

    include /var/www/yourdomain.com/conf/nginx/*.conf;
}
Check your nginx configuration with the command nginx -t and apply it with service nginx reload
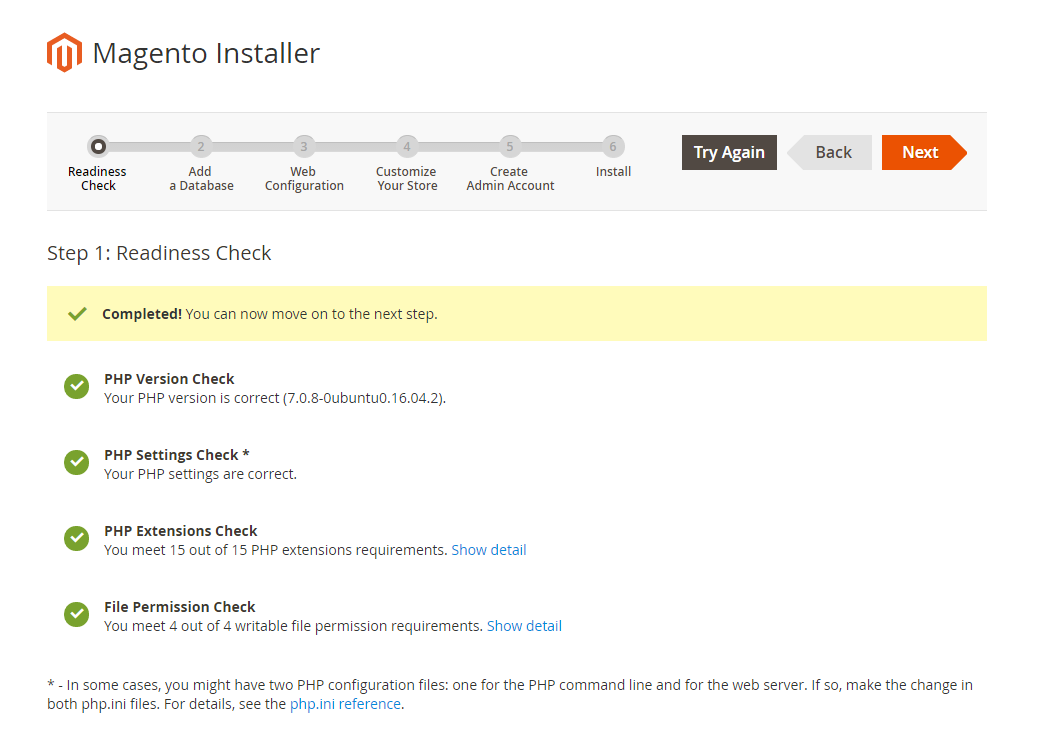
We can now launch the installation by reaching the domain with our browser
Just follow the step, and use the databases user credentials available in the file /var/www/yourdomain.com/ee-config.php
To run properly, Magento require to add some cronjobs. If you are already logged as www-data, you have just to use the command : crontab -e and to add the following lines. Just replace yourdomain.com with your real domain.
* * * * * php /var/www/yourdomain.com/htdocs/bin/magento cron:run | grep -v "Ran jobs by schedule" >> /var/www/yourdomain.com/htdocs/var/log/magento.cron.log
* * * * * php /var/www/yourdomain.com/htdocs/update/cron.php >> /var/www/yourdomain.com/htdocs/var/log/update.cron.log
* * * * * php /var/www/yourdomain.com/htdocs/bin/magento setup:cron:run >> /var/www/yourdomain.com/htdocs/var/log/setup.cron.log
Some other useful command to get started with the magento cli
## deploy the magento sample data
php bin/magento sampledata:deploy

## upgrade your magento install
php bin/magento setup:upgrade

## Generates DI configuration after setup:upgrade
php bin/magento setup:di:compile

## clean magento cache
php bin/magento cache:clean

## backup magento
php bin/magento setup:backup
Your Magento instance is now running properly, but we want to make it faster. For that we will use redis for session storage and full-page caching.
I let you read the Magento DevDocs to understand why Redis is better.
Use redis for session and page cache
So, to use Redis-server, there are no plugins like for WordPress, but we have just to edit the file app/etc/env.php and to set the correct settings to use redis for the session storage and the full page caching instead of files. You can use the following example : env.php
There are two blocks to add to use redis-server, it require to use a database for each block :
- session caching
'session' =>
   array (
   'save' => 'redis',
   'redis' =>
      array (
	'host' => '127.0.0.1',
	'port' => '6379',
	'password' => '',
	'timeout' => '2.5',
	'persistent_identifier' => 'magento2:',
	'database' => '1',
	'compression_threshold' => '2048',
	'compression_library' => 'gzip',
	'log_level' => '1',
	'max_concurrency' => '6',
	'break_after_frontend' => '5',
	'break_after_adminhtml' => '30',
	'first_lifetime' => '600',
	'bot_first_lifetime' => '60',
	'bot_lifetime' => '7200',
	'disable_locking' => '0',
	'min_lifetime' => '60',
	'max_lifetime' => '2592000',
    ),
- Full-page caching
'cache' =>
array(
   'frontend' =>
   array(
      'default' =>
      array(
         'backend' => 'Cm_Cache_Backend_Redis',
         'backend_options' =>
         array(
            'server' => '127.0.0.1',
            'port' => '6379',
            ),
    ),
    'page_cache' =>
    array(
      'backend' => 'Cm_Cache_Backend_Redis',
      'backend_options' =>
       array(
         'server' => '127.0.0.1',
         'port' => '6379',
         'database' => '3',
         'compress_data' => '0',
       ),
    ),
  ),
),
You can now refresh the Magento cache to make sure you are using Redis. You can also use EasyEngine to install phpRedisAdmin to see the redis databases with ee stack install --phpredisadmin
Multiple stores configuration
That's one of the main feature of Magento, the ability to host several stores/websites on the same magento instance. At first you have to create a new website, store and store view in the Admin panel. For this part just follow the Magento Guide.
Then create your additional nginx vhost with :
ee site create your2domain.com
And edit it to look like :
server {

    server_name your2domain.com   www.your2domain.com;
    access_log /var/log/nginx/your2domain.com.access.log ;
    error_log /var/log/nginx/your2domain.com.error.log;

    set $MAGE_ROOT /var/www/yourdomain.com/htdocs;

    index  index.html index.htm;

    include /var/www/yourdomain.com/conf/nginx/*.conf;
}
You have to make sure you have included the same magento.conf file than for the main website. After that we have to use the Nginx map directive to pass the values of the Magento variables to nginx, so we will create a file map.conf in /etc/nginx/conf.d with the following content :
map $http_host $MAGE_RUN_CODE {
   yourdomain.com yourdomain-code;
   your2domain.com your2domain-code;
}
So if you want to add another store later, you will just have to create another vhost and to add a line in this file with the new domain and the associated website code.
Then edit the file /etc/nginx/fastcgi_params and add the following line at the end :
fastcgi_param MAGE_RUN_TYPE website;
fastcgi_param MAGE_RUN_CODE $MAGE_RUN_CODE;
Reload nginx with nginx -t && service nginx reload and you can now check if your two stores are working properly.
If you have any issue to setup Magento with EasyEngine, post a reply on the Magento thread already available. I will answer to your questions.